
In the consideration of making an aquatic environment that is both amazing and practical, the selection of materials can have a very big impact. Aquarium lovers have increasingly been turning to clear acrylic tubes because of their practicality, functionality, and perfect transparency. But what is it that makes these tubes such an advantage for plastic aquarium fish tanks? The aesthetics, functionality, and even the whole experience of keeping an aquarium will be the main points of discussion in this article concerning clear acrylic tubes. From design to useful benefits, you will find out why these modern and sleek materials are a must-have in your fish tank. Plus, getting the necessary insights for either upgrading your tank design or improving its performance is now easier since this guide is full of practical tips.
Understanding Acrylic Tubing
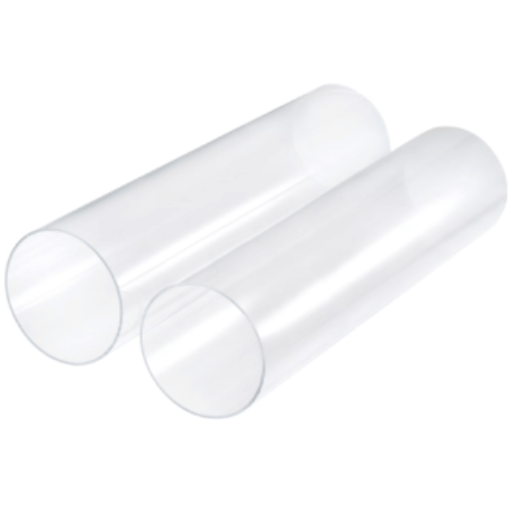
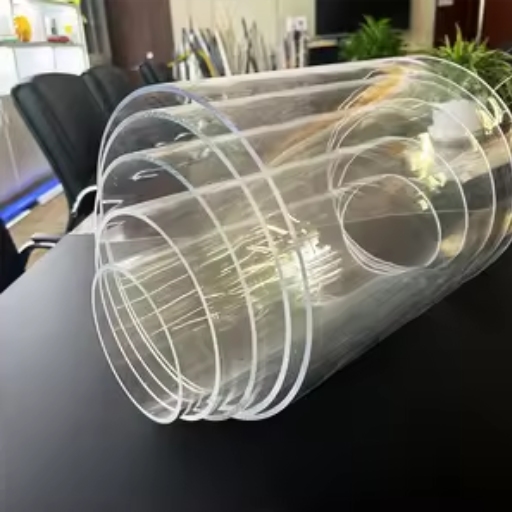
Acrylic tubing is a durable yet lightweight material that has been used in the design of aquariums mainly because of its transparency and toughness. Glass, on the other hand, is less shatter-resistant and more difficult to mold; therefore, it is not so good for custom-designed aquarium features. This allows for aquatic life to be seen better, the tank’s structural integrity is improved, and maintenance can be done with ordinary cleaning products. Its wide range of uses and good looks are the reasons that the acrylic tubing has been a favorite choice for both hobbyists and professionals who want to make their aquariums modern and eye-catching.
💧
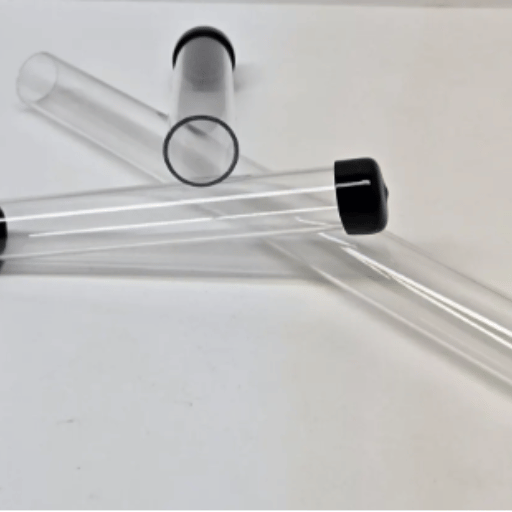
What is Acrylic Tubing?
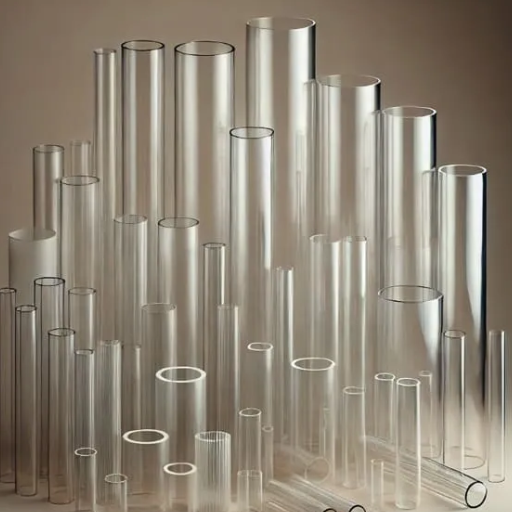
Acrylic tubing is a light, strong, and clear plastic made out of polymethyl methacrylate (PMMA). The characteristics of high optical clarity, impact resistance, and versatility give it a major role in the market and hence, it gets used in projects like aquariums, displays, and industrial areas. Good machining ability and weathering resistance are the other factors that help acrylic win the race among other materials.
Benefits of Clear Acrylic Tubes for Fish Tanks
Lightweight Design
Easy to handle and install compared to heavy glass alternatives.
Impact Resistant
Significantly reduces chances of cracking or breaking during use.
Superior Clarity
Provides crystal-clear, vivid views of aquatic life and enhances visual appeal.
Weather & Chemical Resistant
Ensures long-lasting performance in stable aquatic environments.
Comparing Acrylic Tubing to Other Materials
Choosing the Right Tubing for Your Fish Tank
In the process of choosing the tubing for your fish tank, you must think about three factors that are crucial: durability, clarity, and compatibility. Among these, the clear acrylic tubing is the supreme choice as it provides great power, and is also very good for the visibility of the tank’s interior. Make sure the tubing is compatible with the filters or pumps you are using, so it is secure and the right diameter for your aquarium system. Non-toxic, high-quality materials should always be used as they will secure the health of your aquatic animals. Also, the specific requirements of your tank should be considered, like flexibility or custom shapes, in order to come up with a good choice.
⚙️ Factors to Consider: Diameter and Thickness
Diameter Selection
Must be appropriate to equipment connections (filters, pumps) to prevent leaks or loose spots. Ensure compatibility with your aquarium system components.
Thickness Considerations
Thicker tubing provides durability and prevents collapse, ensuring uninterrupted water flow. Balance thickness with flexibility for easy installation and adjustments.
💡 Pro Tip: Finding the right blend of diameter and thickness will bring about the best performance and life of your aquarium system.
Customizing Your Acrylic Tube for Specific Aquariums
When it comes to customizing your acrylic tube for particular aquariums, it means adjusting its length, diameter, and even shape to perfectly match your project. Aspects like tube’s length can be easily modified with the help of a cutting tool; just make sure you get a clean cut so that there is no leaking. For one-of-a-kind aquarium shapes, think of lightly heating the tube to give it a new form. Make it a rule to always check the compatibility with your devices and after the changes, do a test for the water flow to keep the effectiveness and the integrity of the system.
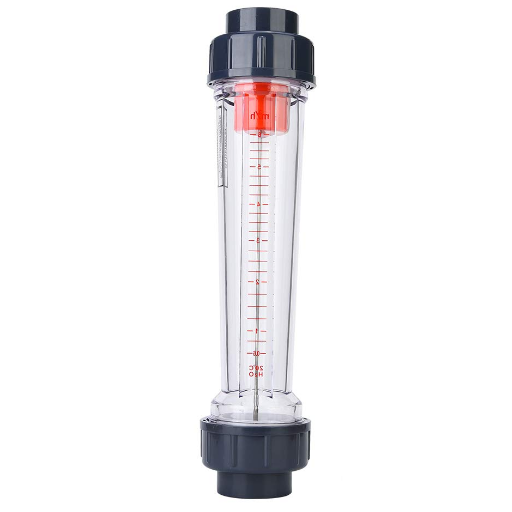
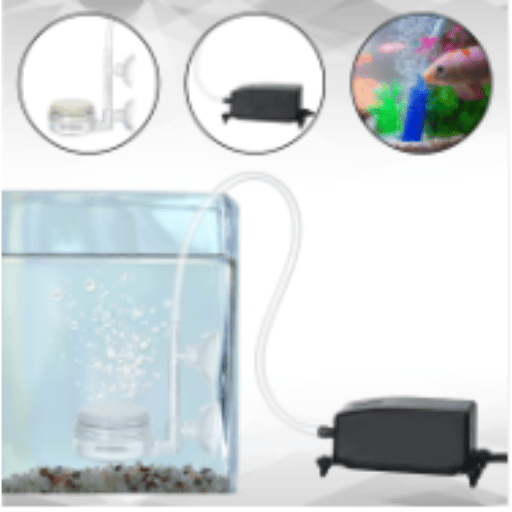
🔧 Matching Tubing with Filtration Systems
For better performance, the tubing diameter and material should exactly correspond to your filtration system specifications. If the tubing is too narrow, it will cut off water flow; on the other hand, oversized tubing can cause leaks or transmit inefficient filtration. Use materials that are flexible and hard-wearing such as silicone or reinforced PVC for good sealing and a long life. Always make sure that the manufacturer’s recommendations are followed and that the system is tested for consistent water flow after installation.
Installation Tips for Clear Acrylic Tubes
Measure Accurately
Before starting installation, it is necessary to double check the dimensions of your tank to guarantee the tube’s length and diameter are in perfect alignment with your system. To prevent any mistakes, use very accurate instruments for measuring.
Cut with Care
In case adjustments are required, either use a fine-toothed saw or a tube cutter made specifically for acrylic to obtain a clean and smooth edge. Additionally, lightly sand the edges to eliminate the risk of sharp edges.
Secure Connections
Attach the acrylic tube to filters, pumps, or other components by utilizing compatible fittings or connections. It is better not to force connections as this may lead to cracks or damage.
Seal Properly
At those points where a leak is most likely to occur, especially, apply an aquarium-safe sealant to make the connection watertight.
Test for Leaks
After the installation has been done, water should be passed through the setup to identify any leaks or loose fittings. Make adjustments and reseal where necessary.
Routine Maintenance
Access for cleaning or repairs in the future should be easy through the installation, thus minimizing interruptions to your aquarium system.
Step-by-Step Guide to Installing Acrylic Tubing
Step 1: Plan the Layout
Determine the path and length required for your tubing, minimizing bends to guarantee smooth water flow.
Step 2: Cut the Tubing
Employ a fine-toothed saw or tube cutter to produce clean, accurate cuts. Then, file down the edges to avoid damaging the tubing during installation.
Step 3: Heat for Shaping (if necessary)
Carefully warm up the tubing with a heat gun until it can be easily molded to the desired shape. Care needs to be taken not to overheat or warp the tubing.
Step 4: Seal Properly
Apply aquarium-grade sealant at the joints to make sure that the connection is completely waterproof, giving special attention to the areas that are most susceptible to leaks.
Step 5: Attach Fittings
Firmly secure the tubing to the connectors, fittings, or pumps and ensure the fit is tight enough to stop leaks.
Step 6: Test for Leaks
Allow water to flow through the system and watch for any weak spots or leaks. Then, re-seal or tighten connections where necessary to fix the problem.
Step 7: Maintain Access
Arrange the tubing in a way that permits easy disassembly or cleaning during regular maintenance. Always consider future adjustments to be the most important factor in convenience.
✅ Ensuring a Leak-Free Setup
The step of getting a completely leak-free setup involves the use of quality materials and the precision of assembly. Tubing and connectors must be of the highest standard and should match the specifications of your system. Make sure that every single connection is tight and that tape or sealant is applied in the places where it is most needed. Do routine checks on the setup to see if there is any wear or if there are any weak points; if there are, repair them right away. Also, do pressure tests at regular intervals to detect and fix leaks while they are still small, and this will ensure the equipment’s reliability and efficiency for a long time.
Common Mistakes to Avoid During Installation
Using Incorrect Materials
Tubing or connectors that are not appropriate can cause the system to fail or become inefficient very quickly. Always ensure that the materials meet your system’s specifications.
Improper Sealing
Not sealing with sealant or tape at junctions may cause leaks to occur sooner or later. Inspect seals for firmness.
Overtightening Connections
Too much tightening can result in the destruction of threads or connectors, which in turn can lead to leaking. Do not tighten more than is necessary but do tighten securely.
Ignoring Inspections
Not inspecting regularly can give room for small problems to become big ones. Be sure to conduct routine checks to detect issues early.
Neglecting Pressure Testing
Going without the initial or periodic pressure tests may result in the failure to identify leaks, thereby making the reliability of the system questionable.
Maintenance of Acrylic Tubing
Acrylic tubing, if properly maintained, will last long and deliver good performance. The following are the steps that can guide you in this process:
1
Regular Cleaning
Periodic rinsing of the tubing with warm water will help prevent the accumulation of dirt, algae, or residues.
2
Avoid Abrasive Materials
Cleaning with soft cloths or sponges will avoid any scratches on the acrylic surface.
3
Inspect for Cracks or Damage
The tubing should be checked regularly for any wear or damage that can affect its strength.
4
Prevent Clogging
The tubing should be kept open by either flushing with water or using a flexible brush that is made for tubes.
5
Monitor Fittings
To ensure a leak-proof system, connections should be either tightened or replaced as soon as they become worn out.
If you treat acrylic tubing like this, it will last longer and still work effectively.
Best Practices for Cleaning and Care
In order to achieve the best performance and longest service life of acrylic tubing, it is necessary to stick to the following cleaning and maintenance practices:
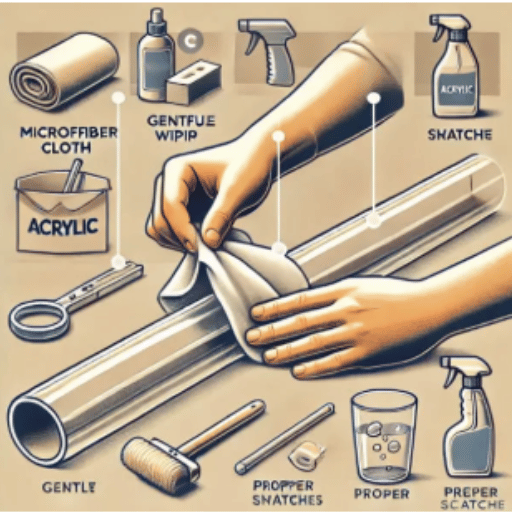
✨ Use Non-Abrasive Cleaners
Always apply gentle, non-abrasive cleaning agents, which will not only keep the tubing scratch-free but also prevent any other damage to its surface.
⚠️ Avoid Harsh Chemicals
Avoid using powerful solvents since they can cause the material to lose its strength or get discolored.
💧 Rinse Thoroughly
After the cleansing process is finished, use clean water for rinsing so that any cleaning solutions dispersed are removed and no residues are left behind.
🧼 Pat Dry Gently
Use a soft cloth that is free of lint to dry the tubing, so that the chances of streaking or scratching are minimized.
Acrylic tubing system will last longer and stay clear if subjected to regular care through gentle methods.
🔄 Prolonging the Lifespan of Your Acrylic Tubing
Drawing out the lifespan of your acrylic tubing can be achieved through consistent application of these tips. Always treat the tubing gently to prevent it from getting damaged, regularly wash it with mild soap and water, and never bring it in contact with strong chemicals or extreme temperatures. Over time proper cleaning, gentle handling and the right storage conditions will be key to maintaining the durability and functionality of your tubing.
👁️ Maintaining Clarity and Transparency
To keep your acrylic tubing clear and transparent, use a gentle, lint-free cloth along with a non-abrasive cleaner to clean it regularly. It is important to refrain from using strong chemicals or rough materials that might lead to clouding or scratches. In addition, correct storage away from sunlight and extreme conditions will treat the acrylic tubing nicely over time and keep its original beauty.
Reference Sources
1. Pentair AES – Acrylic Tubing
Describes the properties of extruded acrylic tubing and compares its clarity and weight to that of PVC.
2. LinkedIn – US Acrylic Fish Tank Market
Reports on the United States market for acrylic fish tanks by giving its size and growth, as well as mentioning the application of the acrylic tubing.
3. Mirror Plastic – Market Trends and Growth Drivers of Fish Culture Acrylic
Investigates the implementation of acrylic tubing for underground aquariums, especially in locations such as hotels and shopping malls.
4. Growth Market Reports – Acrylic Aquarium Market Research Report 2033
Presents a comprehensive overview of the applications of acrylic materials, such as tubing, for aquariums located in residential, commercial, and public sectors.
Frequently Asked Questions (FAQs)
Conclusion
Clear acrylic tubing represents a significant advancement in aquarium design and functionality, offering aquarium enthusiasts a perfect combination of durability, aesthetics, and practicalityRetryThis response paused because Claude reached its max length for a message. Hit continue to nudge Claude along.Continue. Its superior transparency provides unobstructed views of aquatic life, while its lightweight yet robust construction ensures long-lasting performance in both freshwater and saltwater environments. From customizable installations to easy maintenance routines, acrylic tubing has proven itself as an indispensable material for modern aquarium systems. Whether you’re upgrading an existing setup or building a new aquatic masterpiece, the versatility and reliability of clear acrylic tubes make them an excellent investment. By following the installation guidelines, maintenance practices, and care tips outlined in this guide, you can create a stunning and efficient aquarium environment that will bring joy and tranquility for years to come. The future of aquarium design is clear, and it’s made of acrylic.