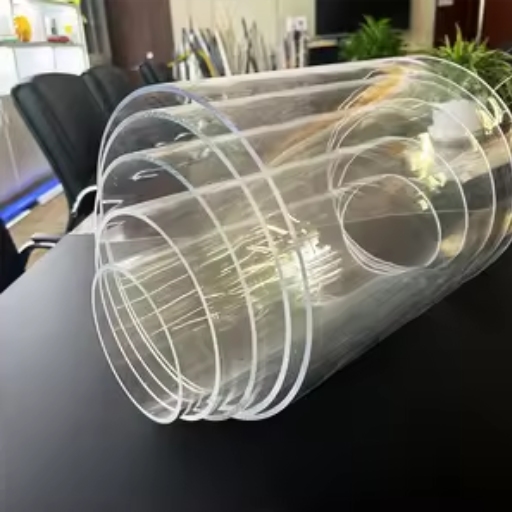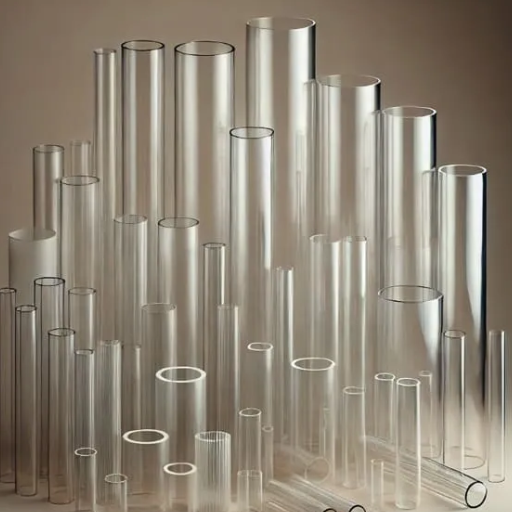
Cutting clear acrylic with a diode laser can be both difficult and rewarding for a hobbyist, professional, or DIYer seeking clean, precise results. With its array of applications, a diode laser becomes an even more worthy investment. Still, with clear acrylic, special complications arise simply because of its transparency, often resulting in cuts that are less than perfect if the proper cutting techniques aren’t followed. This guide provides everything you need to know to cut clear acrylic with a diode laser successfully, from the science behind the process to the right settings, necessary tools, and step-by-step instructions. Whether you are a highly experienced professional or a beginner at laser cutting, looking to branch into new territories, this article will surely provide you with real-life tips and tricks to help you accomplish this with skill and confidence.
Introduction to Diode Lasers
Laser diodes are compact and efficient devices utilizing semiconductor technology to create laser beams. More cost-effective and lightweight than other types of lasers, diode-type lasers are suitable for a variety of applications, including engraving, cutting, and marking. An electric current is passed through a semiconductor, causing it to emit light, which is then focused into a laser beam. Diode lasers are less potent than CO2 lasers but are very precise and versatile, making them great for projects involving acrylic, wood, and fabric. Easy to operate and accessible, they are widely popular among hobbyists and professionals.
What is a Diode Laser?
A Laser Diode, commonly referred to as a diode laser, is a type of laser technology that utilizes a semiconductor device as its active medium. These lasers generate light through the phenomenon of electroluminescence. In this phenomenon, an electric current excites electrons in the semiconductor, which then lose their energy by releasing it in the form of photons. A diode laser is known for being small in size, efficient, and versatile in the wavelengths it can cover, ranging from ultraviolet to infrared. With all the recent improvements in this class of lasers, they have become excellent tools for precision cutting, engraving, marking, and even in medical and optical communications technologies. Their availability and adaptability have huge applications in industries s well as in art.
Features of Diode Lasers
- Small Size: Diode lasers are compact and relatively light in weight so that they may easily be integrated into consumer devices and systems.
- High Efficiency: These lasers are considered efficient energy conversion systems, with a significant part of electrical energy being converted into laser light.
- Range of Wavelengths: Diode lasers provide comprehensive wavelength coverage, spanning from the ultraviolet to the infrared region, making them suitable for a wide range of applications.
- Reliability and Longevity: The diode laser is not only sturdy but also capable of operating for extended periods with minimal maintenance.
- Cost-Effectiveness: Their relative ease of production and high energy efficiency make diode lasers a cost-effective option for many industries.
Applications of Diode Lasers in Acrylic Cutting
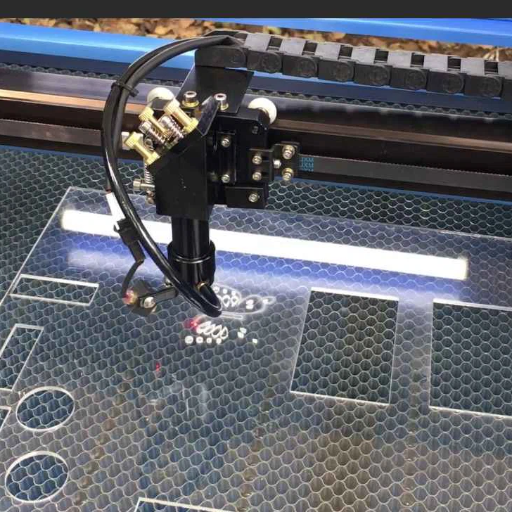
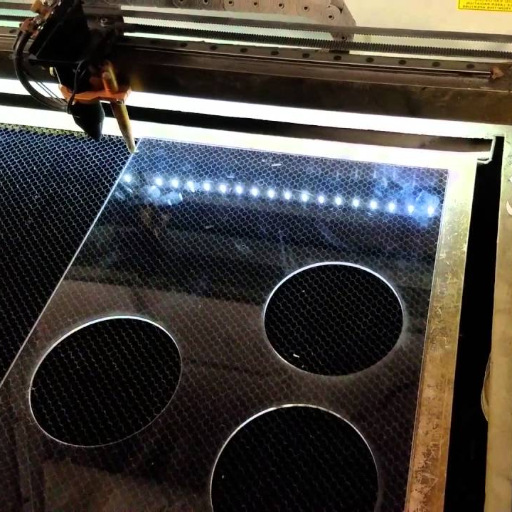
Meanwhile, diode lasers are being employed in acrylic cutting as they are more precise and efficient. There are clean, smooth edges produced without more finishing. These lasers are great at cutting more pattern-based and complex designs on sheets of acrylic, which in turn finds uses in signage, crafts, and customized product development. Energy-efficient and having adjustable power levels, they are versatile in handling varying thicknesses of acrylic. On the other side, being small-sized and inexpensive makes a diode laser a phenomenal choice giving a reliable performance in industrial setups as well as in smaller-scale arenas.
Effectiveness of Diode Lasers for Cutting Clear Acrylic
⚠️ Important Note: Diode lasers are even stronger to cut through opaque or colored acrylic sheets but not through clear ones. The clarity of an acrylic material allows the diode laser wavelength to pass through without being absorbed, thus hampering its cutting efficacy. For clear acrylic, one often resorts to another type of laser usually: the CO2 laser, which would then be more efficient in absorbing and cutting the material.
Precision and Affordability
Diode lasers are recognized for their precision and affordability in a wide range of applications. However, they fall short when making cuts into clear acrylic. The wavelength dictates that these diode lasers do not fully absorb into clear acrylic, making smooth cutting a tough job compared to an easy one with colored or opaque materials. Yet, they still are a jab at affordable for projects where cutting clear acrylic is just not on the cards but engraving and cutting other kinds of materials are. CO2 lasers would be better on clear acrylic. While CO2 lasers cut better into clear acrylic, diode lasers are a good, cheap option where the clear aspect is not a consideration. The balance between precision and cost just keeps place for diode lasers to exercise outside the clear acrylic domain.
Comparison with CO2 Lasers
Diode lasers differ from CO2 lasers in cost, beam quality, application scope, power efficiency, and material compatibility.
Suitability for Hobby Projects
Diode lasers are cheap and powerful, making them perfect for hobby projects. Engraving, cutting thin materials, and working on opaque surfaces are among the tasks they perform best. They are better suited for the home hobbyist mainly because they stay cheaper than a CO2 laser, plus they are small and easy to fit into DIY configurations. Cutting explicit materials, however, is not a strong suit for these lasers, nor for any project that requires exceptionally high beam quality or versatility. For any small project worthy of the name, a diode laser will be the most reliable and cost-effective instrument.
Step-by-Step Guide to Cutting Clear Acrylic with Diode Laser
🔧 Complete Process Guide
-
1
Prepare the Workspace
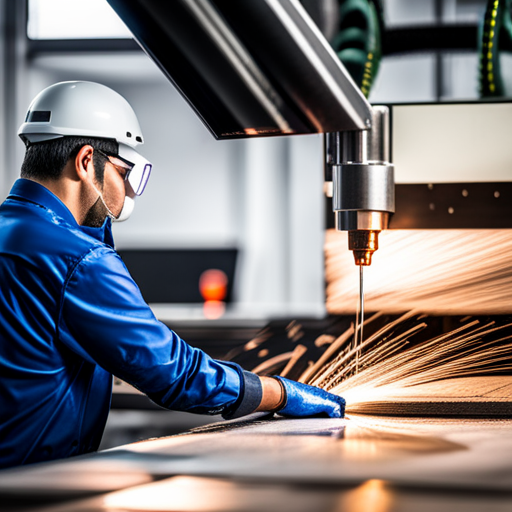
Make sure your workspace is clean and well-ventilated. Also, there should be no flammable materials around. Set up your diode laser machine onto a stable surface, making sure that all the safety features operate perfectly.
-
2
Prepare Materials and Equipment
Have your acrylic sheet with you along with any other necessary tools, like clamps or a cutting board, which can hold the material securely. Do not forget to have your protective eyewear, which is appropriate for the laser wavelength, readily available.
-
3
Apply a Protective Layer
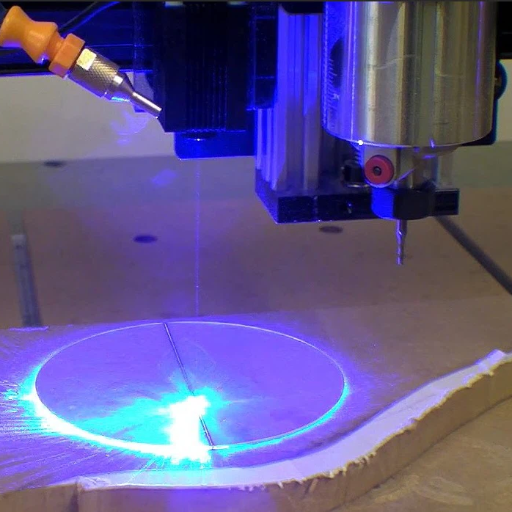
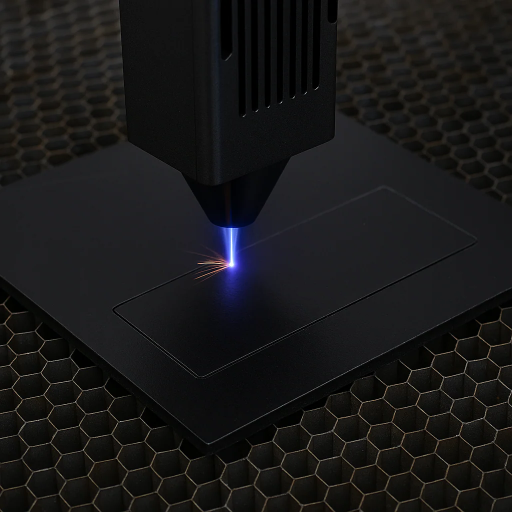
As diode lasers struggle to cut through clear or transparent materials, try applying a temporary coating or masking tape to the surface of the acrylic. This stops the laser beam from passing through the material without actually cutting it.
-
4
Clamp the Acrylic
Place the acrylic sheet on the cutting table and clamp it in place to prevent movement during the process. A stable setup guarantees an accurate and even cut.
-
5
Adjust the Laser Setting
Depending on the acrylic sheet thickness, adjust the diode laser power setting and its speed accordingly. Setting a slow speed yet a powerful laser is almost always preferable for clear items.
-
6
Test Laser on Scrap Materials
Test the laser on scrap acrylic to avoid any mistake. Fine-tune the adjustments until the laser cuts clean without over-melting.
-
7
Begin the Laser Cutting Procedure
Proceed with acrylic cutting according to the design or pattern loaded into your laser software. Keep a close eye on the process to verify that the laser is cutting effectively and safely.
-
8
Post-Cut Adjustment
Inspect the edge of the acrylic after cutting and smooth it out with sandpaper or polishing tools if it is too rough or imperfect.
-
9
Clean The Acrylic Piece
Remove the protective layer/masking tape and clean the acrylic with a non-abrasive cleaner to remove any residue.
-
10
Power Off and Package the Equipment
Once you have finished using the diode laser, switch it off and store it according to the manufacturer’s instructions. Store any remaining acrylic in a safe place for future use.
Preparing the Acrylic for Cutting
- Select the Right Acrylic Sheet: Choose an acrylic that matches the required thickness and color for your project, ensuring the material is suitable for your diode laser.
- Measure and Mark the Cutting Area: Use a ruler and a non-permanent marker to mark the line in the cutting area; double-check for precision.
- Secure the Sheet in Place: Keep the acrylic sheet on a firm surface, firmly clamped, or taped to prevent any movement during cutting.
- Remove Protective Film in the Cutting Area: Remove any protective film or covering from the area where the cutting is to be done for optimal laser operation, and clean the edges.
- Test the Acrylic: Take a trial cut on a scrap piece of acrylic to ensure that the laser settings are suitable for the material and yield the desired results.
Configuring Laser Settings for Different Cuts
Everything needs to be set as precisely as possible when cutting so that laser paths may be cleanly and efficiently executed on acrylic. The primary parameters that get adjusted are power, speed, and frequency. The slower the speed, the better the power for thicker acrylic, as it gives the laser more time to cut through the material. For thinner acrylic, or engraving, swift speed with low power would be enough to avoid melting and scorching.
Additionally, frequency refers to the number of pulses a laser emits per second. Higher frequencies are used in detailed cutting or engraving, but can cause heat buildup; lower frequencies are suitable for straight cuts. Refer to the manual of your laser cutter for the suggested settings; remember that the results may vary depending on the type of material, for instance, between cast and extruded acrylic. It is therefore best to run tests on scrap pieces before making the final cut to achieve a good balance among these parameters.
Executing the Cutting Process
For an effective cutting process, ensure the material is properly clamped onto the laser bed. While clamping, ensure that the material is aligned with the laser’s focal point to achieve consistent cutting and results. Enter the settings for speed, power, and frequency, considering the material and the results you expect to achieve. Review your design file once more to ensure that all vector lines or engraving paths are entered correctly. After all is set and reviewed, the laser cutter is activated, and the process must be closely observed. There should be proper ventilation to remove gaseous fumes created during cutting. When the machine is finished cutting, the material must be removed carefully, keeping it away from sharp edges and residual heat. Regular cleaning and servicing of the laser cutter will improve its performance and minimize wear across future uses.
Techniques for Optimal Cutting Results
🎯 Material Preparation
Ensure the material to be cut is free from dirt and kept flat, as any slant will cause unevenness in the cut or unwanted residue.
🔍 Focus Adjustment
Set the precise laser focus for cutting depth, which will then be maintained evenly.
⚡ Power and Speed Settings
Set according to the type and thickness of the material.
🧪 Test Cuts
Test cuts should be performed on the scrap material to validate settings.
🔧 Regular Maintenance
Prevent loss of efficiency and accuracy by maintaining regular cleaning of laser lens and mirrors.
💨 Ventilation System
Help the smoke and dust to be sucked by the ventilation system for cleaner cutting.
Adjusting Speed and Power Settings
For optimal laser cutting results, a good balance of speed and power settings is required, depending on the material being processed. First, consult the manufacturer’s guidelines for working settings specific to the given material type and thickness. Lowering the cutting speed and increasing the power generally yields deeper and cleaner cuts, while higher speeds with less power are ideal for thinner materials and engraving. Make test cuts on scrap material before making the final cut to ensure the settings are correct, then always make gradual changes to prevent overheating or charring of the material. Thus, high-grade and flawless results will be achieved.
Using Proper Focus Techniques
Ensuring that the laser is well-focused is a prerequisite to commencing any project to achieve proper cutting results. I adjust the focus to suit the material thickness, preferably by using the provided focus tool from the laser cutter or by consulting the manufacturer’s settings guide. Ideally, the distance from the laser head to the material should be appropriate so that the precision is not compromised due to a slight misalignment. I can double-check the focus before every run to ensure that results turn out clean and precise.
Achieving Clean Edges and Minimizing Melting
To ensure clean edges and minimal melting in laser cutting, proper settings and techniques must be employed. Always select the correct power and speed settings for the material to avoid melting due to excess heat. Keep the laser beam focused and aim for a sharp, clean cut. High-quality materials, particularly those designed for laser cutting, will also minimize the chance of adding imperfections to the edges. Particular attention needs to be given to proper ventilation, with a strong exhaust system to help carry heat away while removing debris, improving edge quality. Actively keeping the laser lens clean and periodically checking the cutting bed condition will also help with accuracy and crisp performance.
⚠️ Safety Precautions When Using Diode Lasers
🛡️ Safety should always be your top priority when working with laser equipment
When operating diode lasers, it is essential to wear suitable laser safety goggles to protect your eyes from potential hazardous exposure. Do not disregard direct or partial reflections of laser emission; ensure the workspace is shielded correctly to contain all emissions from the laser. Always have a fire extinguisher readily available, as lasers can ignite fires with certain flammable substances during cutting operations. Ensure adequate ventilation while cutting to prevent inhalation of fumes or particulates. Periodically inspect and maintain laser equipments for utmost safety and efficiency.
Importance of Proper Ventilation
The use of diode lasers requires proper ventilation to ensure safety and maintain air quality. During use, diode lasers may produce fumes, vapors, and particulates, particularly when cutting or engraving certain materials. The emissions may be hazardous if someone were to inhale them over time. Adequate ventilation systems serve to extract harmful substances from the air, thus reducing their potential to irritate the respiratory system or cause permanent health hazards. Proper airflow also prevents flammable gases from accumulating, thereby reducing the risk of fire within the workspace. Properly maintained ventilation will, therefore, protect both user safety and environmental hygiene.
Protective Eyewear and Gear
Using proper protective eyewear when working with a diode laser is essential to protect one’s eyes from the destructive effects of laser radiation. Safety glasses must always be worn that are specifically rated for the wavelength of the laser used, as regular glasses will generally not provide sufficient protection. The eyewear should be comfortable to wear and should not contain scratches or other damage, as these can also compromise its protective properties.
In addition to protective eyewear, materials exposed to the beam may require further protection, such as heat-resistant gloves. It seems wise to cover all visible skin areas with clothing to avoid the possibility of burns. With this approach, safe functioning and minimal hazards are ensured. Always check the manufacturer’s instructions for any safety requirements relative to the equipment being used.
Responsible Handling of the Laser Cutter
Since the laser cutting process involves high-power lasers, these are infamous for causing accidents if not handled properly. First, all inspections must be carried out before using the equipment to identify any damage or other conditions that may affect its operation. Keep the immediate work area clean and free of any materials that can cause fire or combustion. The laser cutters generate heat that poses a fire risk.
Furthermore, users should be aware of the material being cut to avoid a harmful situation involving fumes or byproducts. Cutting with PVC or certain plastics releases toxic gases; therefore, always verify that the material is safe to use with the laser cutter. Proper ventilation is crucial in the workshop to minimize health risks and maintain optimal air quality. By following these steps and monitoring the equipment’s performance, users can minimize risks and extend the machinery’s lifespan.
📚 Reference Sources
-
How to Cut Clear Acrylic with a Diode Laser? – xTool Blog – A step-by-step guide on the process and considerations.
-
Acrylic Laser Cutting: 5 Steps to Success – LaserPecker Support – Discusses power requirements and techniques for cutting acrylic with diode lasers.
-
Why Cutting Clear Acrylic with a Diode Laser is Impossible – xTool Blog – Explains the challenges and limitations of using diode lasers for clear acrylic.
- Top Acrylic Sheet Manufacturers and Suppliers in China
- Guide for Laserschneiden Acryl
❓ Frequently Asked Questions (FAQs)
🎯 Final Thoughts
While cutting clear acrylic with diode lasers presents unique challenges due to material transparency, following the proper techniques and safety precautions outlined in this guide will help you achieve the best possible results. Remember to always prioritize safety and practice on scrap materials before working on your final project.